

By Isabella Doyle
15 Mar 2024 · 5 Min Read
This article will guide you through implementing Google Tag Manager Consent Mode, with a Cookie Management Platform (CMP). In our example, we will use the Cookiebot CMP.
Cookies are bits of information stored on web browsers that can track, personalise and save information about the websites users' sessions. Regulations on cookie use were introduced to protect the privacy of users online by requiring websites to receive user consent before using their data for analytics and marketing purposes.
Specifically, as per regulations, the user must be made aware of how their information is being collected and used and give the user the option of accepting or declining such use of their data.
Google Tag Manager’s Consent Mode, launched in 2022, has several features that work together to promote user privacy and compliance with current regulations such as GDPR. This is done by using Google Tags and scripts on third-party websites that modify the ways in which data is collected based on consent settings specified by the user.
Step 1: Set up a cookie consent banner.
A CMP is necessary for managing user consent on websites and collecting and processing user data. When you visit a website, a cookie banner should appear on the page prompting the user to specify their consent.
In Google Tag Manager:
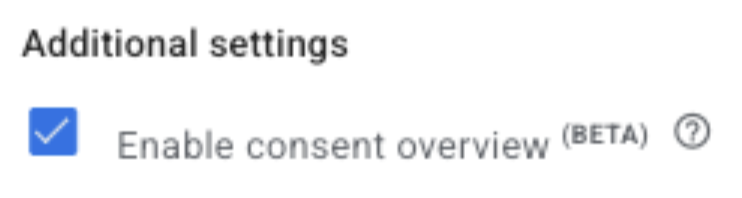
1. Enable Consent Overview by navigating to Admin > Container Settings > Additional Settings and checking the box Enable Consent Overview
2. Create a tag by selecting Tags > Select New > press on Tag Configuration and go to the Community Template Gallery

3. Type ‘Cookiebot’ into the search bar and select the Cookiebot CMP

4. Click Add to Workspace & at the next step select Add
5. Insert your Cookiebot ID into the following field
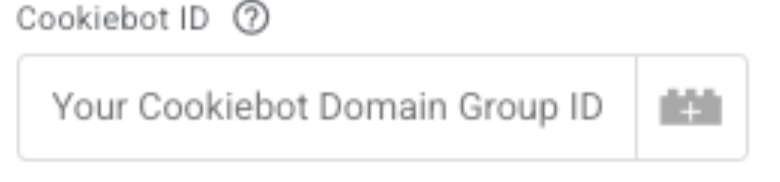
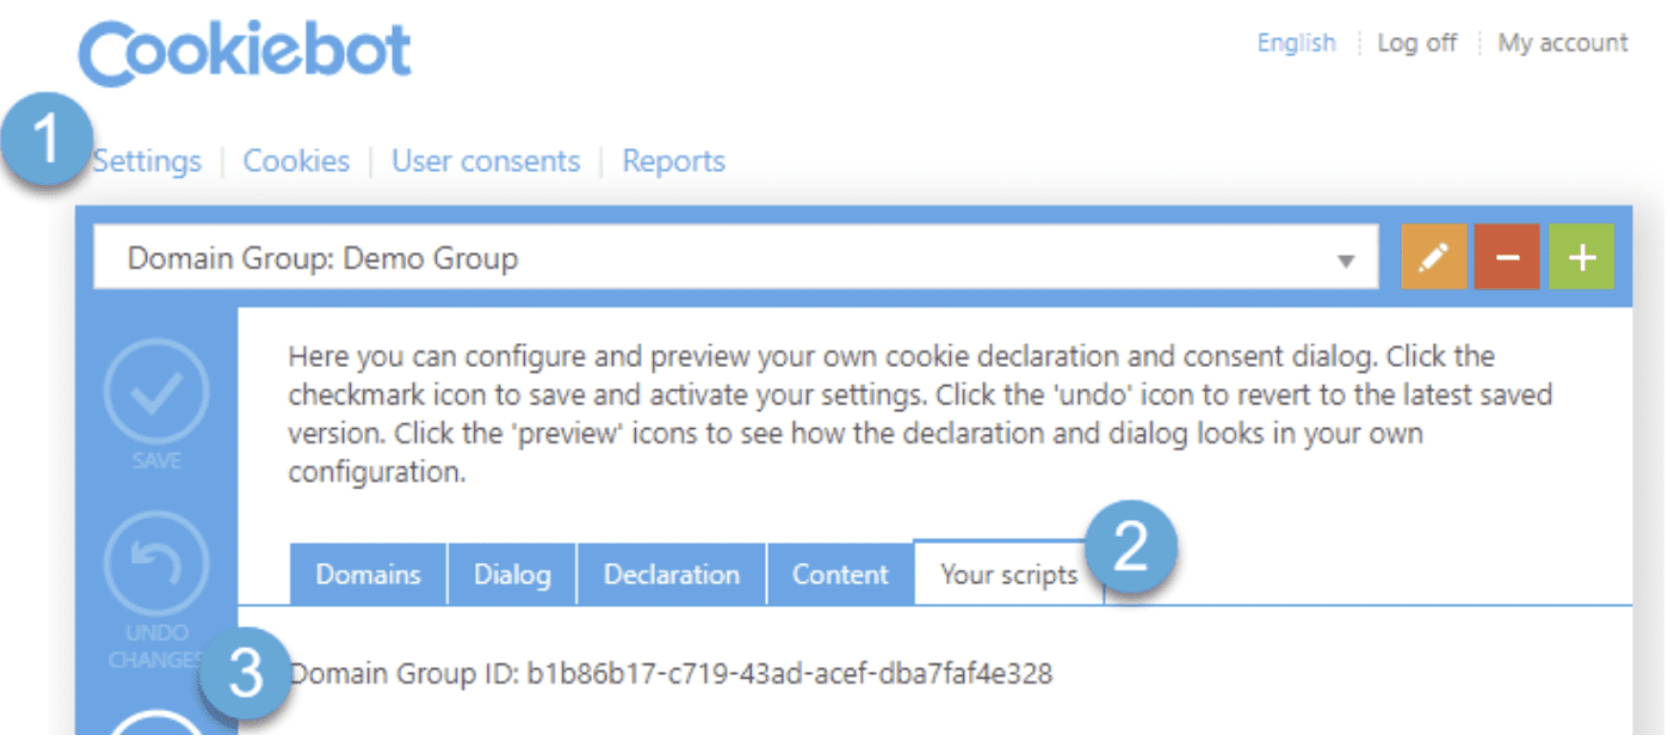
You can find this after creating a Cookiebot account, navigating to the Your Scripts tab and copying ‘Domain Group ID’
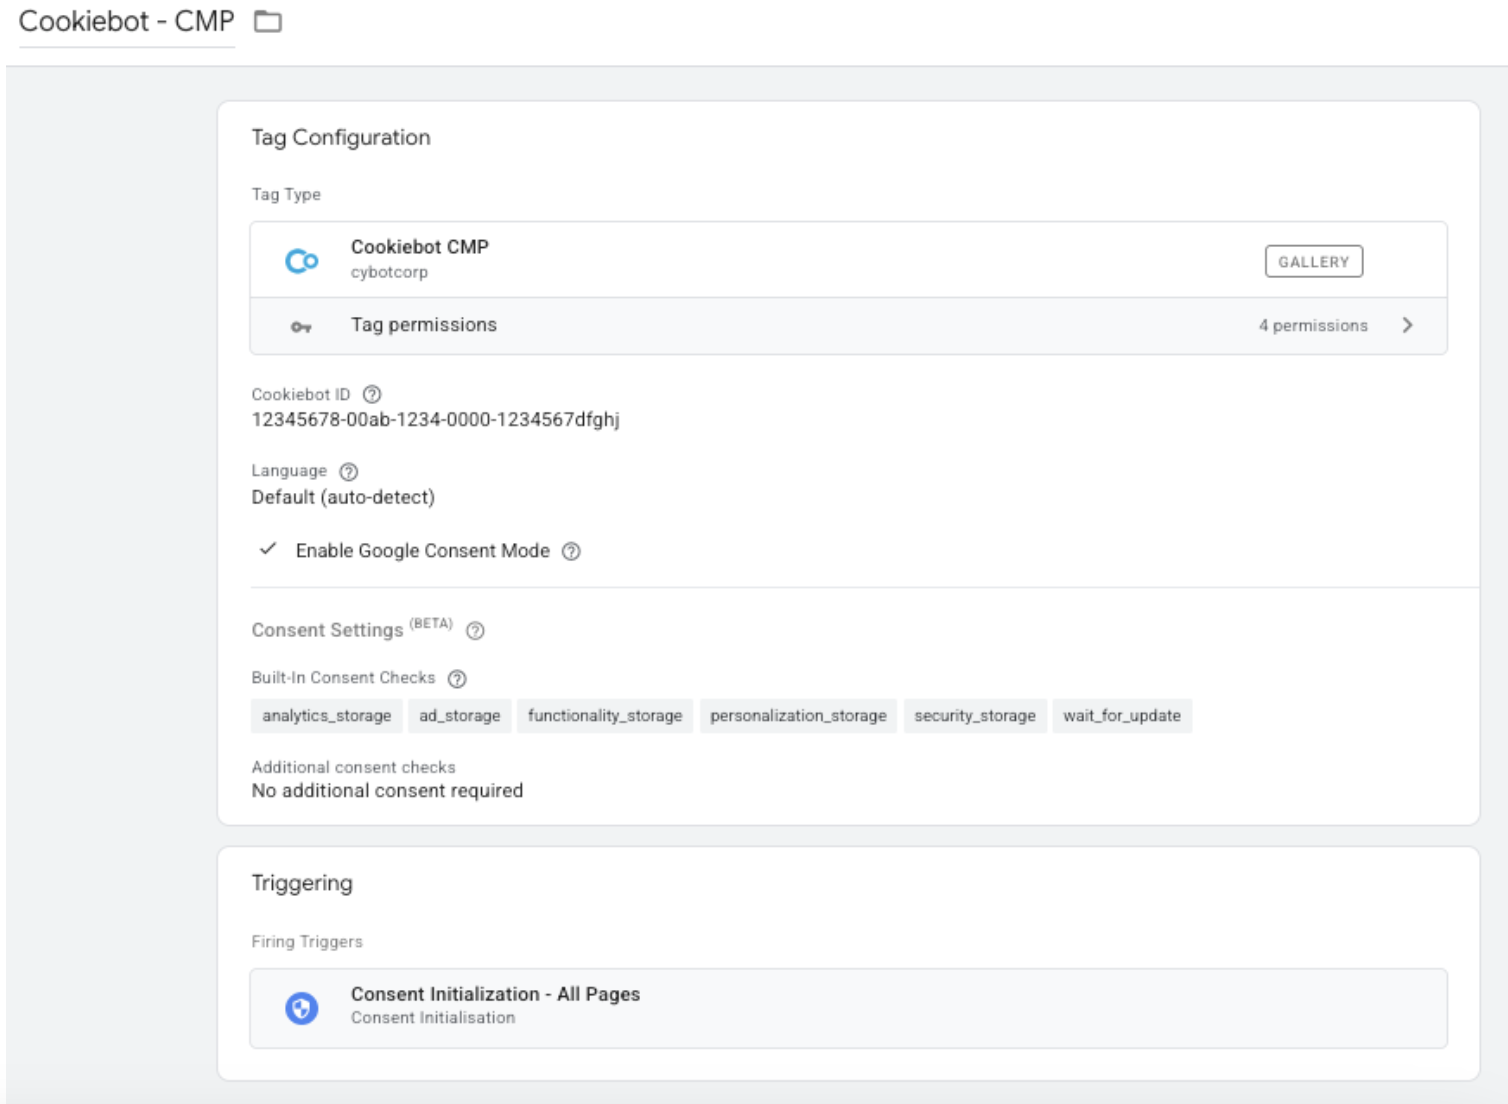
6. Choose the ‘Consent Initialization – All Pages’ trigger

7. Name the tag and press Save
The final result should look something like this:
Google Tag Manager - Cookie consent types.
Google Tag Manager supports 5 consent types, which Cookiebot categorises as the following:
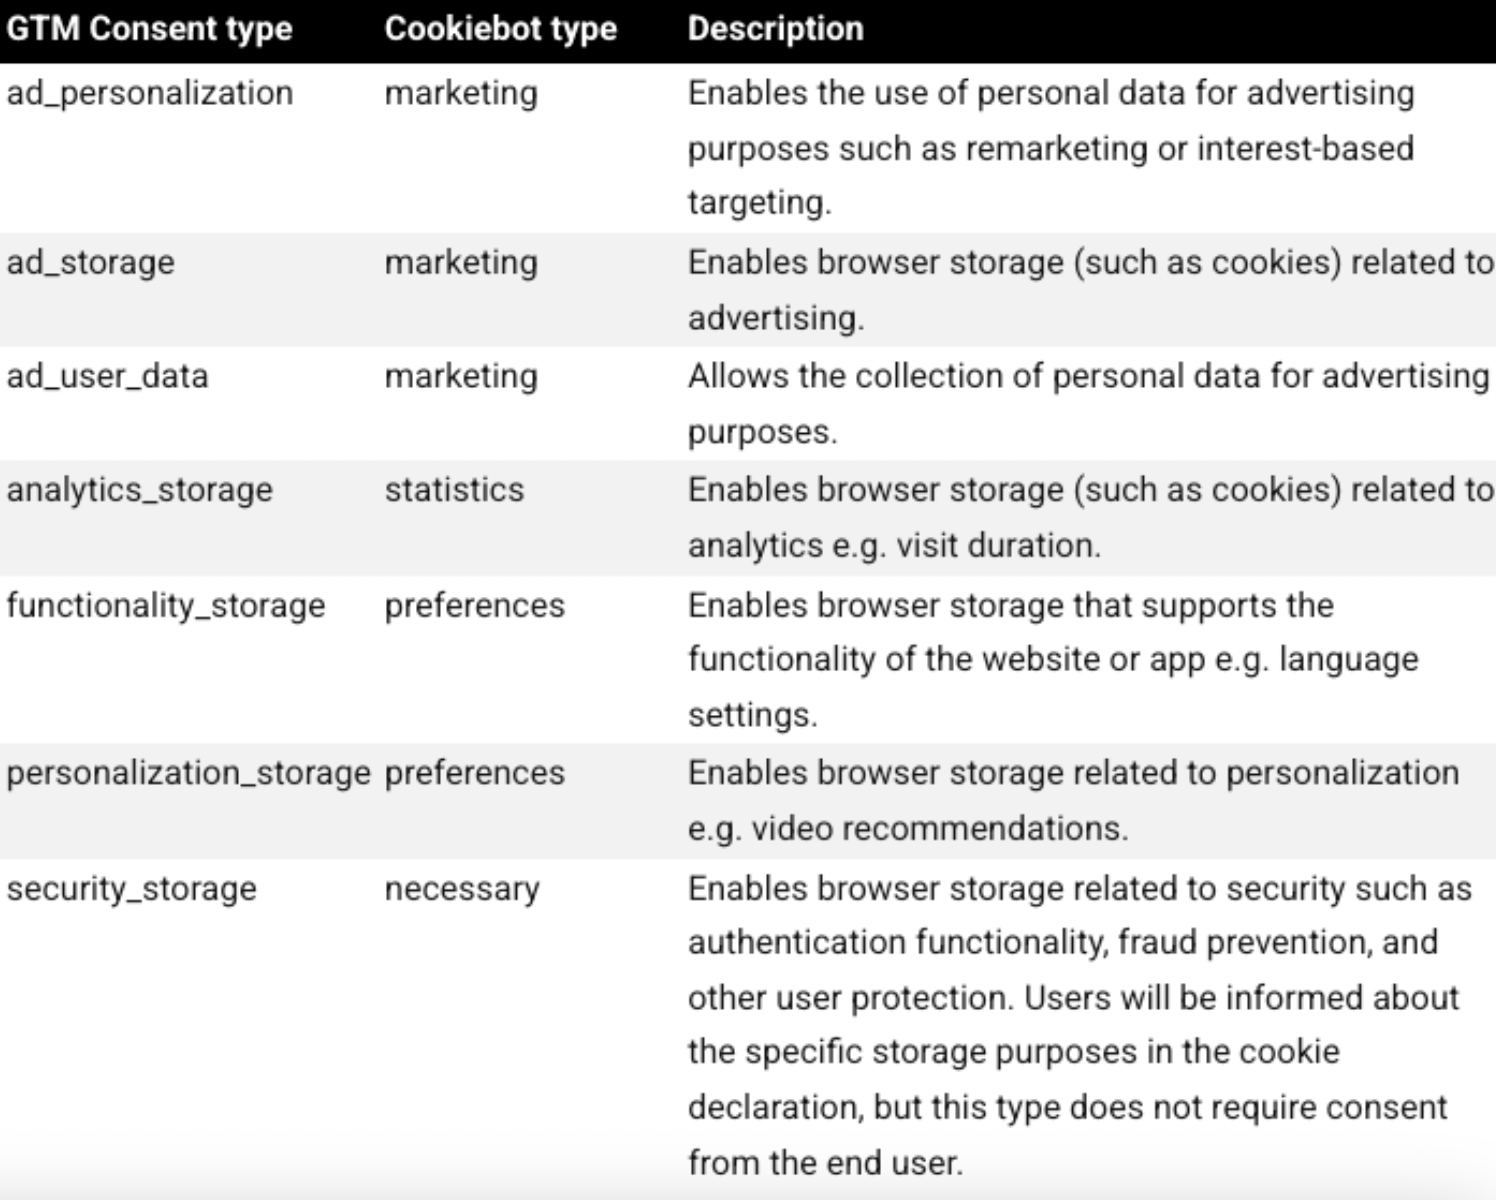
All consent statuses are set to denied as default which satisfies GDPR regulations, however, if you wish to change this:
1. Go to the Cookiebot tag
2. Under ‘Default Consent State’ you can adjust the default states for individual geographical regions
Step 2: Managing cookies & additional consent checks.
Google Tag Manager has various ways that its tags respond to user consent. Tags under the Google umbrella such as Google Ads, Analytics and Conversion Linker, have built-in consent checks.
These tags are automatically configured to behave in a certain way based on the consent given. Meaning no additional configuration is required. Tags without built-in consent checks but that are used for tracking must be configured manually under additional consent checks.
These tags will only fire when their corresponding consent category has been agreed to unlike the google tags which fire regardless.
To set up additional consent checks:
1. First, we must create a trigger, to do so:
- Go to Triggers > New > Trigger Configuration
- Choose Custom Event as your Trigger Type
- Enter the event name: cookie_consent_update
- Fire trigger on All Custom Events
2. Configure the tags without built-in consent
- Go to the Tag > New > Tag Configuration
- Go to advanced settings
- Under Consent Setting, select Require additional consent for this tag to fire
- Enter the Google Tag Manager storage consent types you want to include (see list above)
3. Now we must add the trigger created in Step 1 to each of the tags (that do not have built-in consent), so that they fire only when consent is given.
Final word.
Setting up a consent mode for Google Tag Manager using Cookiebot or another CMP is an essential step in ensuring the promotion of user privacy online. By following the instructions outlined in this blog post, you can easily obtain explicit consent from your website visitors before collecting their data.
Not only will this help you to avoid penalties for non-compliance, but it will also build trust with your visitors by showing that you respect their privacy.
Remember, it's important to stay informed and keep updated with the latest regulations and best practices in relation to data privacy. If you'd like some help with ensuring the promotion of user privacy online, feel free to reach out to our tech team who'd be happy to help you implement this.