
With over 2 million monthly users, it suffices to say that Calendly is the go-to automated interview scheduling tool for individuals and businesses globally.
It’s a direct call to action for many of our own SaaS PPC clients, allowing online scheduling for demos or introductory calls with ease.
The Problem
Calendly Attribution
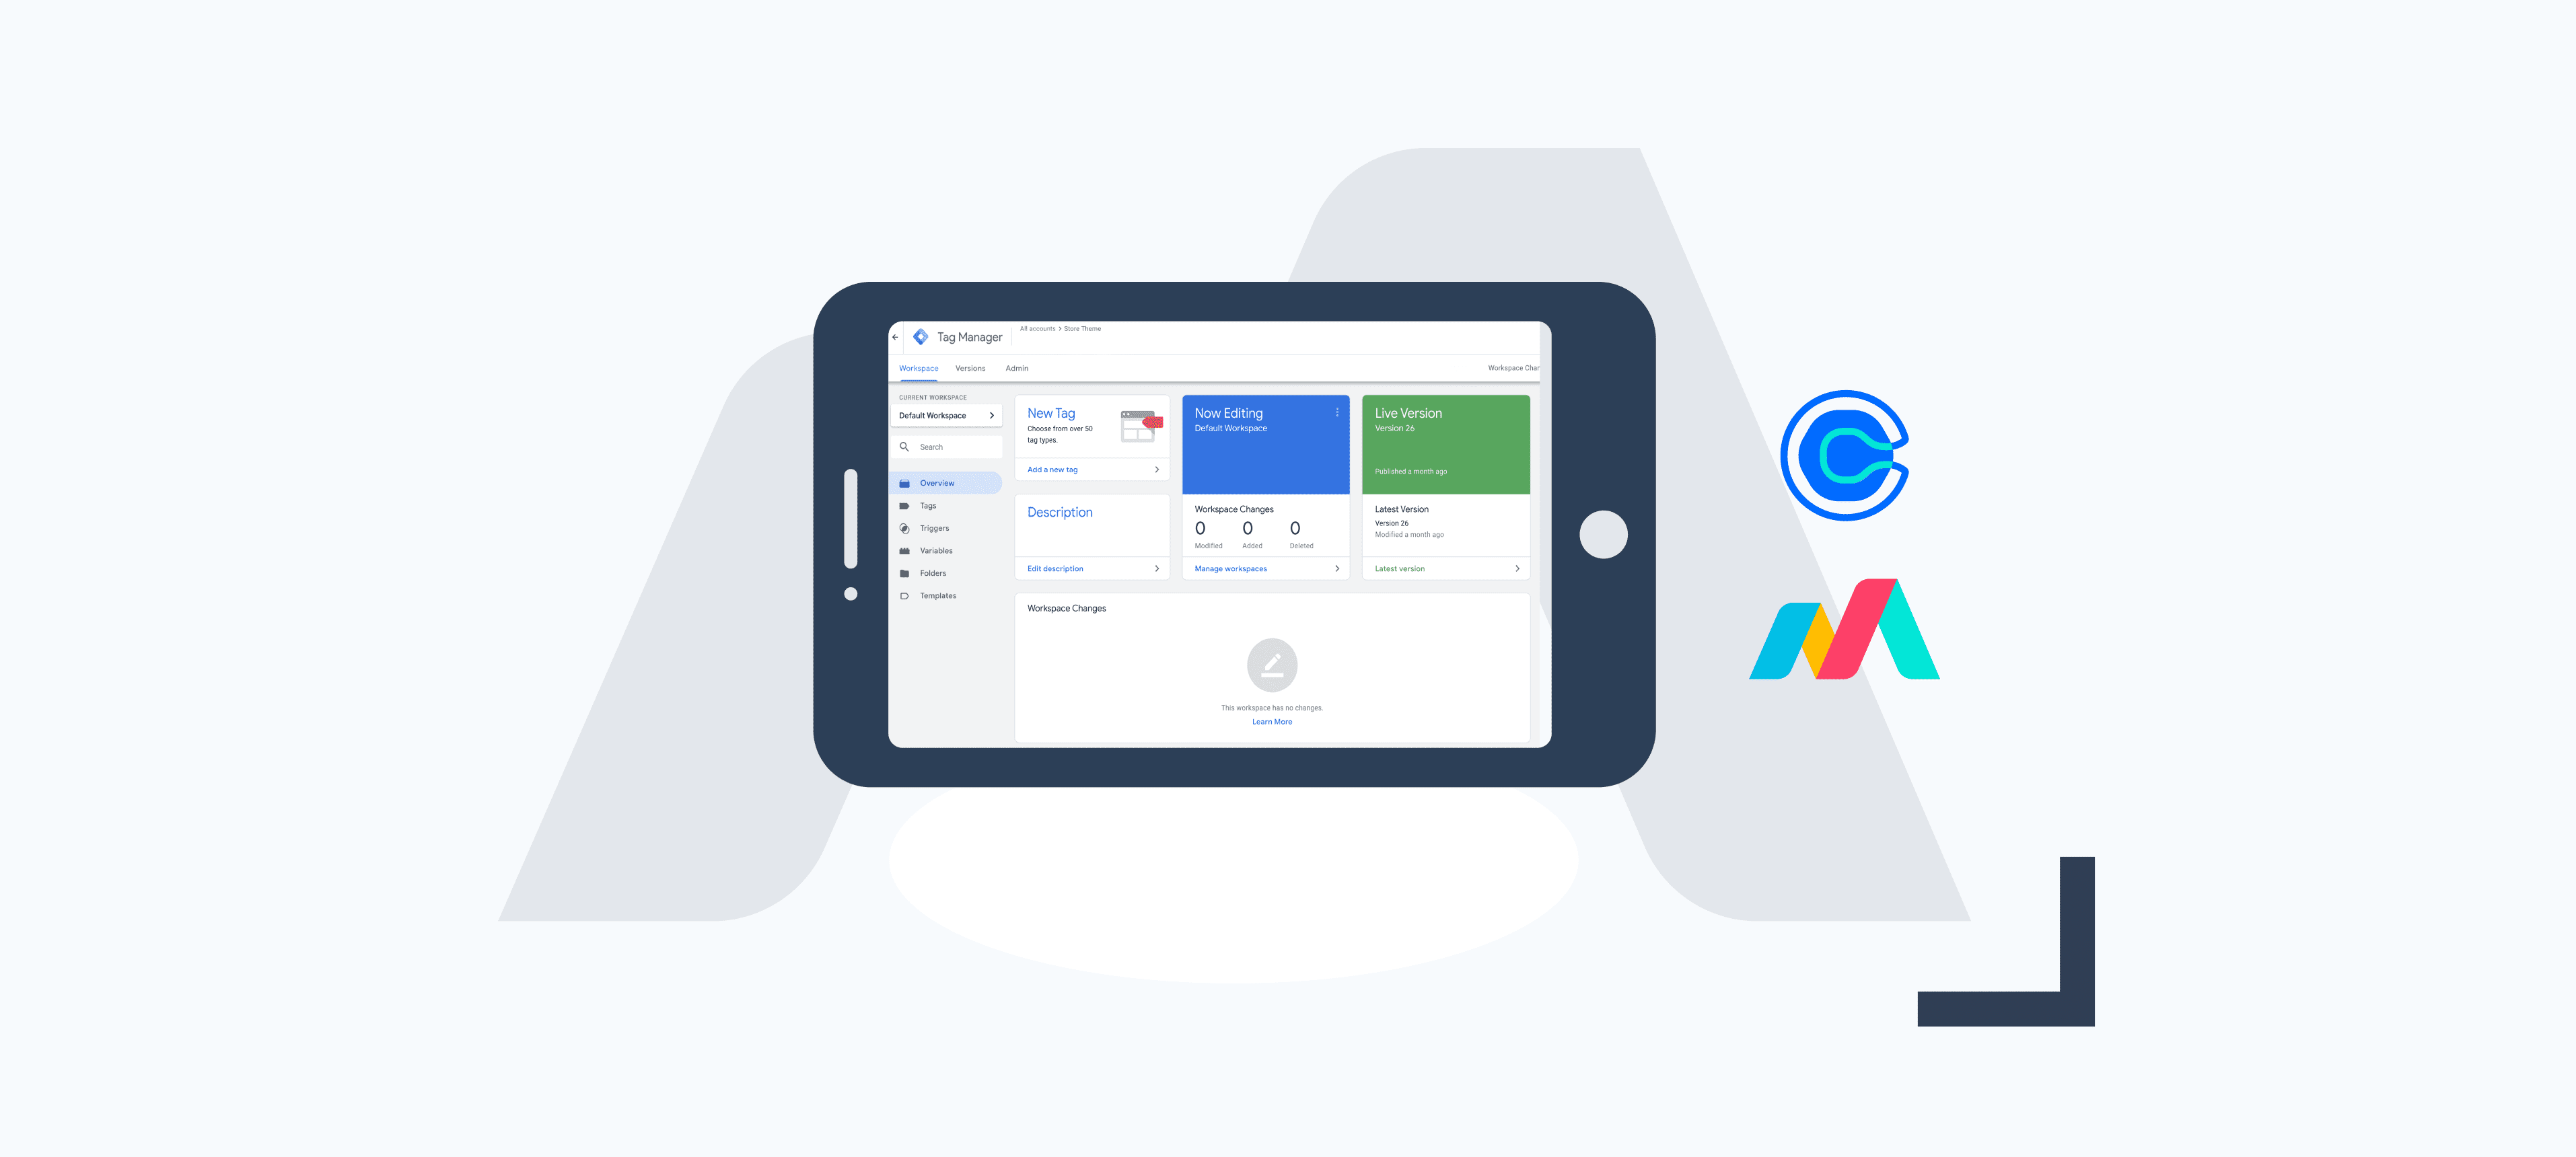
In case you are unaware, the Google Analytics Calendly integration offers a bunch of useful automated events for setting up Calendly tracking. These events allow you to see selected dates and times, Calendly scheduling page views, scheduled meetings and more, all of which can be used for goal tracking within your Google Analytics account.
Note: At the time of writing, this integration is available for users of the ‘Pro’ plan only.
Whilst we’ve pretty much only got great things to say about the integration and the platform itself – there’s one major downside for marketers…
The lack of proper attribution as to which campaigns are driving Calendly appointments.
Calendly themselves explain this limitation on their Google Analytics integration article:
‘The source of your events will always be direct unless you have added UTM parameters to the Calendly link shared with your invitee. If this is the case, the source in Google Analytics will match the UTM source prepended to your scheduling link.”
The problem is that if you have multiple sources of traffic or campaigns leading to the page with the link to Calendly, you’re not going to necessarily know where that user has come from to schedule an appointment with you.
Without hesitation, we decided to come up with a solution that allows accurate conversion tracking, using Google Tag Manager to dynamically alter outbound links to Calendly.
The Solution
Calendly Google Tag Manager Link Tagging
Using GTM we store the URL parameters as variables, these are set within a cookie for later access. As the user traverses the site we scan the page for any Calendly links, if any are found, then we append them with the stored URL parameters picked up from the landing page. This essentially allows you to attribute the Calendly Google Analytics goals based on these parameters.
For ease of use, we have created a template tag container for the UTM source/medium/campaign parameters. Simply follow the steps below to begin tracking your Calendly conversions sources accurately in no time.
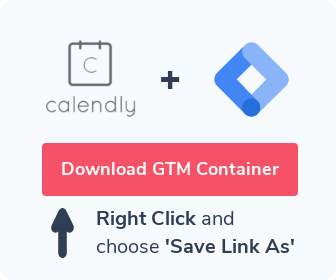
Step 1
Right-click on the button below and choose ‘Save link as’, this should start your download of the JSON file containing the required tags and variables for the setup.
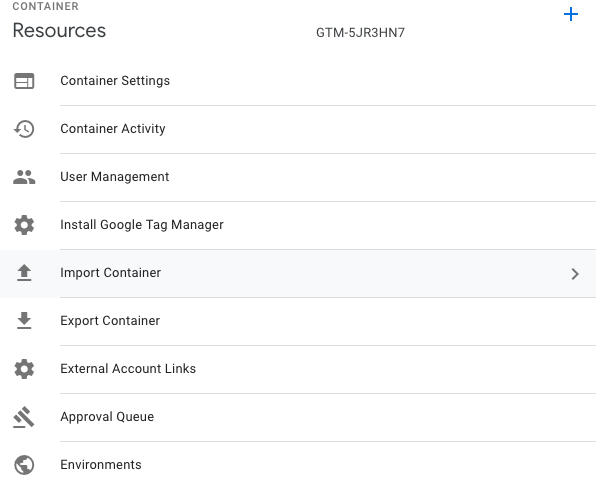
Step 2
Open your Google Tag Manager container and navigate to the ‘Admin‘ tab.
Step 3
Under the ‘Container‘ section, select ‘Import Container‘.
Step 4
Add the JSON file you downloaded, select the workspace you wish to import it into and choose ‘Merge‘. Here you will be given the option of renaming any potential conflicting tags, triggers or variables. This will only matter if you happen to have tags or variables within your container that have the same names as those within the JSON template.
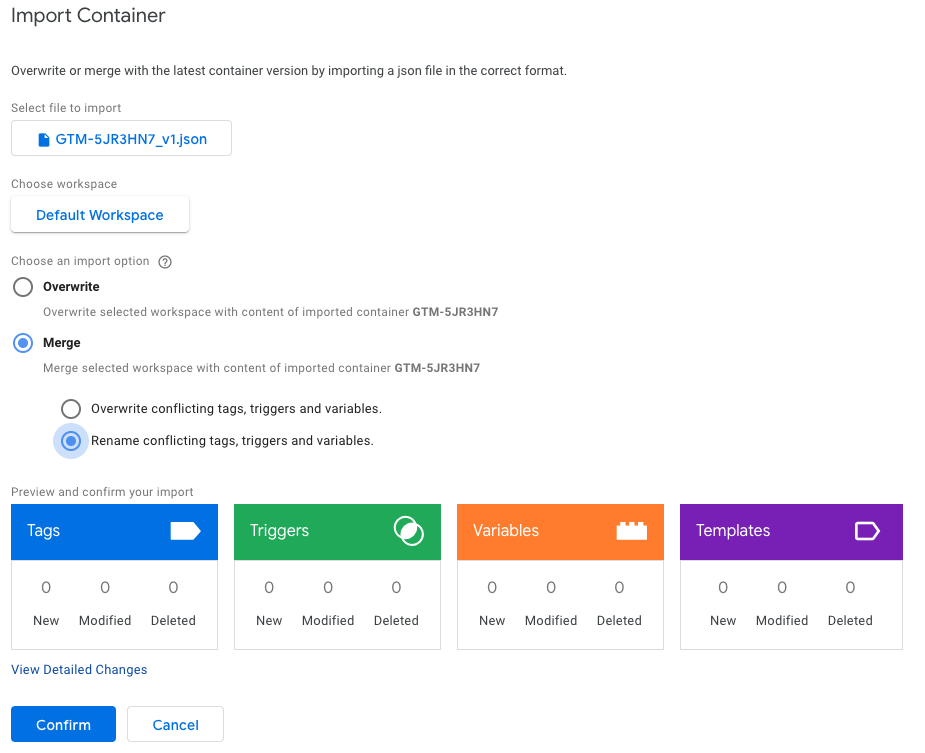
Check the preview boxes for tags & variables, along with the ‘Detailed Changes‘ to ensure there are no conflicts. If there are, check your container for any of the flagged issue tags.
Step 5
We’ve set both tags to fire on all DOM ready events so that they are good to go – you might, however, want to adapt this to just the relevant landing pages and pages with Calendly links on.
Preview & Publish!
There you have it, you should now see any Calendly links on the targeted pages should now populate with the utm_medium, utm_campaign, utm_source URL parameters and pass these through for accurate Calendly conversion tracking. This can also be manually extended to other parameters should you wish by creating further variables and extending the if statement.
Finally, just keep in mind these parameters are stored as a cookie for 24 hours for the user, these parameters will be overwritten by new parameters if they exist, but will persist for this time if there are no URL parameters to overwrite them.
So if a user visits with utm_source of PPC and then returns without a URL parameter of utm_source, the source will still be set as PPC. If however, the user returned with a URL parameter value of utm_source set to direct, then the source would be updated to direct for the next 24 hours.
Variable Storage
If the above is an issue, you can always change the length of the cookie storing the values to a shorter amount, such as an hour within the Calendly – Check URL Parameters tag’s setCookie function. To do this just change the variable called days to hours and set the date calculation to 60*60*1000. The setCookie function set for an hour should look like the following:
function setCookie(name,value,hours) {
    var expires = "";
    if (hours) {
        var date = new Date();
        date.setTime(date.getTime() + (hours*60*60*1000));
        expires = "; expires=" + date.toUTCString();
    }
    document.cookie = name + "=" + (value || "")  + expires + "; path=/";
}
With this setup, you can now access Google Analytics attribution data for Calendly goals/events/conversions within your own Google Analytics account more accurately.
We hope you found this helpful – please leave a comment if you have any questions or need assistance in getting this implemented!
&p[summary]=With over 2 million monthly users, it suffices to say that Calendly is the go-to automated interview scheduling tool for individuals and businesses globally. It’s a direct call to action for many of our own SaaS PPC clients, allowing online scheduling for demos or introductory calls with ease. The Problem Calendly Attribution In case you […]&p[url]=https%3A%2F%2Fbind.media%2Fresources%2Fcalendly-conversion-tracking-with-google-tag-manager%2F&p[images[0]=https%3A%2F%2Fbind.media%2Fwp-content%2Fuploads%2F2019%2F01%2FCalendly-conversion-01-2.png)